 Are you looking to develop a few projects on your local machine and push them on to a real OpenShift Container Platform without having to worry about cloud hosting of your container platform?
Would you like to do that on one of the newer versions of OpenShift Container Platform such as version 4.7?
Look no further as CodeReady Containers puts it all at your fingertips. Experience the joys of cloud native development and automated rolling deployments.
The idea was to make this as streamlined of an experience as possible by using the same CodeReady Containers Easy Install project. Let's take a look at what this looks like.
Below is a walk through step by step, putting the latest OpenShift Container Platform on your local developer machine.
Linux or Mac installation
This installation requires the following (all freely available):1. HyperKit for OSX, Hyper-V for Windows, or Libvirt for Linux
2. Code Ready Containers (OCP 4.7)
3. OpenShift Client (oc) v4.7
Let's get started by downloading the CodeReady Containers Easy Install project and unzipping in some directory. This gives you a file called ocp-install-demo-main.zip,just unzip and run the init.sh as follows:
$ ./init.sh
Follow the instructions as each of the dependencies is checked and you're provided with pointers to getting the versions you need for your platform.
Note: Each CodeReady Container download is tied to an embedded secret. This secret you need to download (link will be provided) as a file and you'll be asked to point to that secret to start your container platform.
Once you've gotten all the dependencies sorted out, the install runs like this:
Next open the web console using URL and login 'kubeadmin' with the corresponding password. In our case it's the URL: https://console-openshift-console.apps-crc.testing
Login with user: kubeadmin
Password in our case: duduw-yPT9Z-hsUpq-f3pre
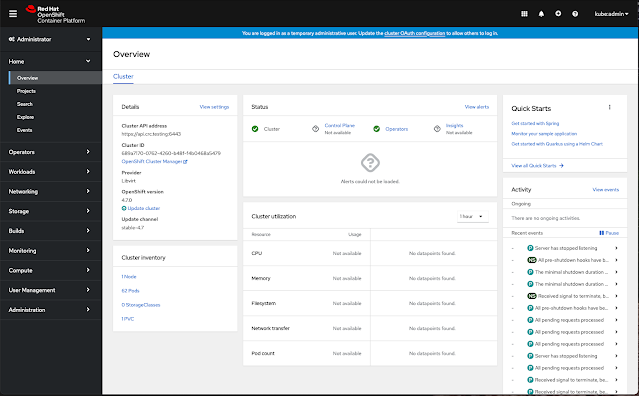
That opens the main dashboard:
Verify the version you are running by clicking on the top right question mark and then About option:
This concludes the installation and tour of an OpenShift Container Platform on our local machine using CodeReady Containers.
What about Windows?
If you are a sharp observer, you'll notice there is a file called init.bat for windows platforms to install with. The problem is I've not been able to test this yet on a windows machine, so I'd love to call out to the readers out there that might have some time to contribute to test this script and help us complete the installation. You'll notice a few TODO's marked in the scripts code, as they are untested areas in the installation.You can raise new issues here and help us complete the windows based installation and get your name added to the contributors list. We'd be really thankful!
If you are interested in the previous version 4.6, see this post for details on how to install.
Stay tuned for more on cloud-native development using other Red Hat technologies on your new OpenShift Container Platform installed locally on your own machine!
Stay tuned for more on cloud-native development using other Red Hat technologies on your new OpenShift Container Platform installed locally on your own machine!


No comments:
Post a Comment
Note: Only a member of this blog may post a comment.